System Requirements

Minimum Requirements

  • CPU 2 cores (x64 or ARM64)
  • RAM 4 GB
  • Disk 25 GB (OS + application)
  • OS Ubuntu 22.04+, Debian 12+, Linux Mint 22+, RHEL 9+, Windows Server 2019+, Windows 10/11
  • Runtime .NET 10 (installed automatically by the installer)

Recommended (50–1000 Users)

  • CPU 8+ cores
  • RAM 16–64 GB
  • Disk NVMe/SSD with 500+ GB for file storage
  • OS Ubuntu 22.04+, Debian 12+, Linux Mint 22+, RHEL 9+, Windows Server 2019+
  • Database PostgreSQL 15+ or SQL Server (MSSQL) 2022+ (both recommended)
  • Reverse Proxy nginx, Caddy, Apache, or IIS
Supported Databases

DotNetCloud supports PostgreSQL 15+ and SQL Server (MSSQL) 2022+. The setup wizard will help you configure your preferred database.

Jump to section:

Linux Install Windows Install Docker Install What's Included Reverse Proxy Further Reading

Install on Linux

The recommended method for Debian, Ubuntu, Linux Mint, and other Debian-derived distributions. One command installs the server and all dependencies.

1

Run the Installer

Open a terminal and run the one-line installer. It downloads DotNetCloud, installs the .NET 10 runtime if needed, creates a system service, and sets up the CLI.

Terminal
# One-line installer (recommended)
curl -fsSL https://raw.githubusercontent.com/LLabmik/DotNetCloud/main/tools/install.sh | bash
Security Note

Always review scripts before piping to bash. You can download and inspect it first: curl -fsSL https://raw.githubusercontent.com/LLabmik/DotNetCloud/main/tools/install.sh -o install.sh && less install.sh && bash install.sh

2

Run the Setup Wizard

The interactive setup wizard walks you through configuration with simple, guided prompts. Choose your deployment mode, database, and admin credentials.

Terminal (Recommended)
# Beginner-friendly guided setup
sudo dotnetcloud setup --beginner

Beginner mode guides you through the three real deployment paths: private/LAN, public behind reverse proxy (recommended), or public direct with your own certificate.

Terminal (Full Wizard)
# Full non-beginner wizard (all options)
sudo dotnetcloud setup
Terminal (Example explicit database flags)
# Example: provide DB settings directly
sudo -u dotnetcloud dotnetcloud setup --db-provider postgresql \
  --connection-string "Host=localhost;Database=dotnetcloud;Username=dotnetcloud;Password=your-secure-password-here"

The wizard gives you three deployment options:

  • Private / LAN — Self-signed HTTPS, perfect for home or internal networks
  • Public with Reverse Proxy — HTTP on DotNetCloud; nginx/Caddy handles SSL (recommended for production)
  • Public Direct — HTTPS with your own certificate directly on DotNetCloud
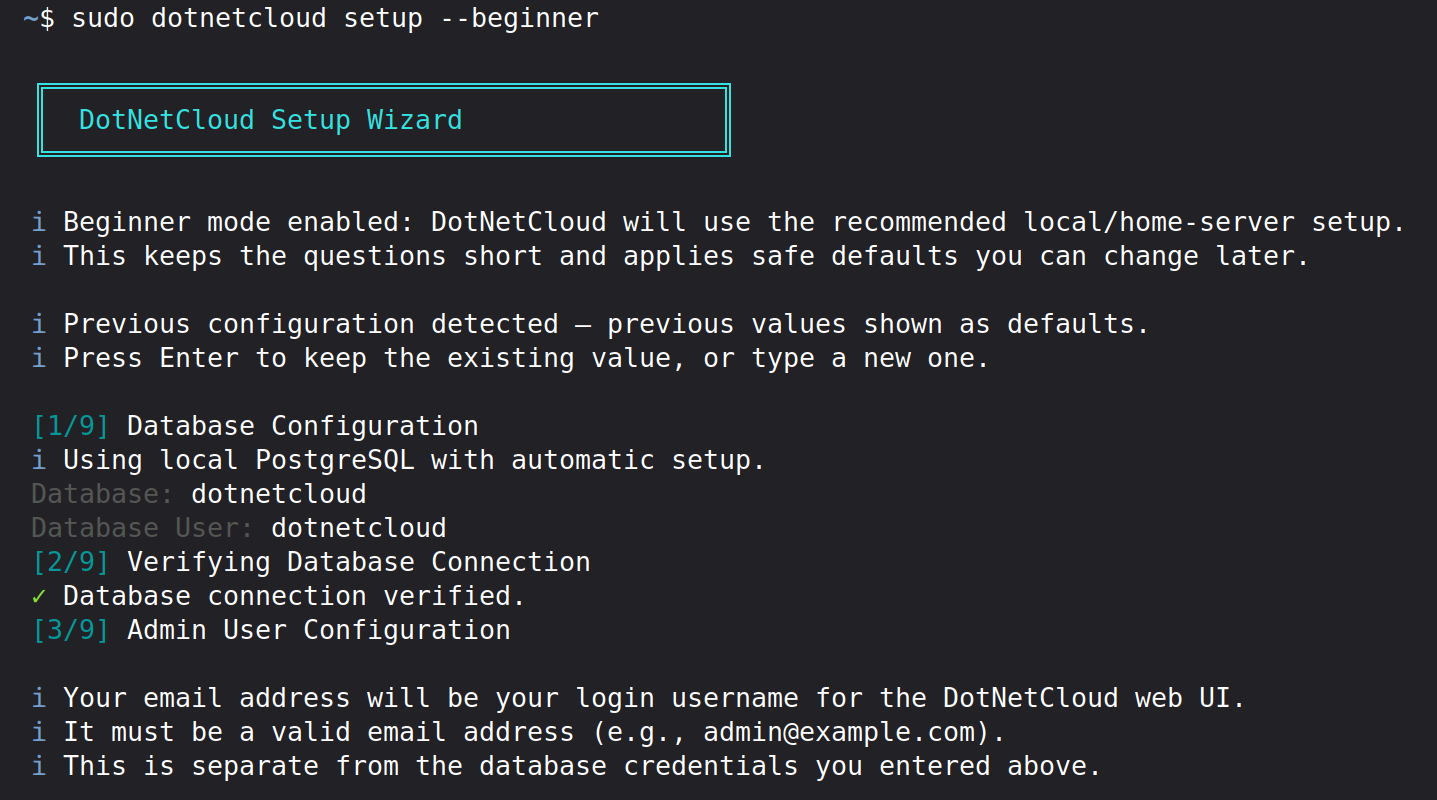
Terminal setup wizard showing DotNetCloud deployment mode selection options
3

Access Your Cloud

Once the wizard completes, the DotNetCloud service starts automatically. Open your browser and navigate to your server's address. Log in with the admin credentials you set during setup.

Terminal
# Check service status
sudo systemctl status dotnetcloud

# View logs
journalctl -u dotnetcloud -f

# Restart if needed
sudo systemctl restart dotnetcloud
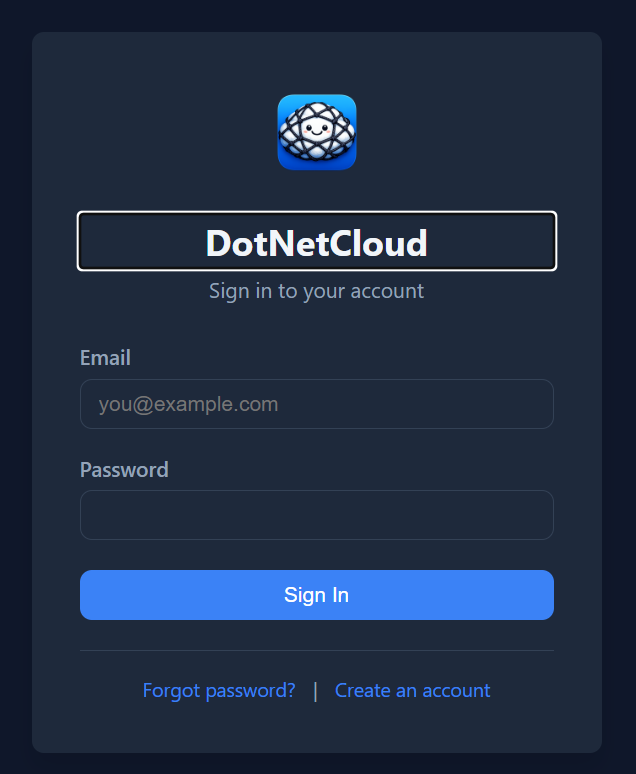
DotNetCloud login page with logo, email field, password field, and Sign In button

Install on Windows

Install DotNetCloud on Windows Server or Windows 10/11. Runs as a Windows Service with optional IIS reverse proxy integration.

1

Install via Package Manager

PowerShell (Administrator)
# Install via winget
winget install DotNetCloud

# Or run the PowerShell installer directly
irm https://raw.githubusercontent.com/LLabmik/DotNetCloud/main/tools/install-windows.ps1 | iex
2

Run the Setup Wizard

PowerShell (IIS One-Command Beginner Install)
# Beginner IIS path with guided prompts
powershell.exe -ExecutionPolicy Bypass -File .\tools\install-windows.ps1 -SourcePath .\artifacts\publish -Beginner
PowerShell (Existing install)
# Beginner-friendly setup wizard only
dotnetcloud setup --beginner
PowerShell (Advanced IIS Install)
# Advanced install with custom IIS/site options
pwsh -ExecutionPolicy Bypass -File .\tools\install-windows.ps1 -SourcePath .\artifacts\publish -Advanced -SiteName "DotNetCloud" -AppPoolName "DotNetCloud" -HostName "cloud.example.com"
PowerShell (Full Wizard)
# Full non-beginner setup wizard
dotnetcloud setup

The wizard configures your database, creates an admin account, and registers DotNetCloud as a Windows Service that starts automatically on boot.

3

Manage the Service

PowerShell (Administrator)
# Check service status
Get-Service "DotNetCloud Core Server"

# Stop / Start / Restart
Restart-Service "DotNetCloud Core Server"
IIS Reverse Proxy

For production Windows Server deployments, see the IIS Installation Guide for detailed instructions on setting up IIS as a reverse proxy with SSL termination.

Install with Docker

The fastest way to get started. Docker Compose bundles everything — server, database, and optional services — in isolated containers.

1

Generate Docker Configuration

Terminal
# Generate docker-compose.yml with the setup wizard
dotnetcloud setup --docker
2

Start the Stack

Terminal
# Start all services in the background
docker compose up -d

# View logs
docker compose logs -f

# Update to latest version
docker compose pull && docker compose up -d

What's Included

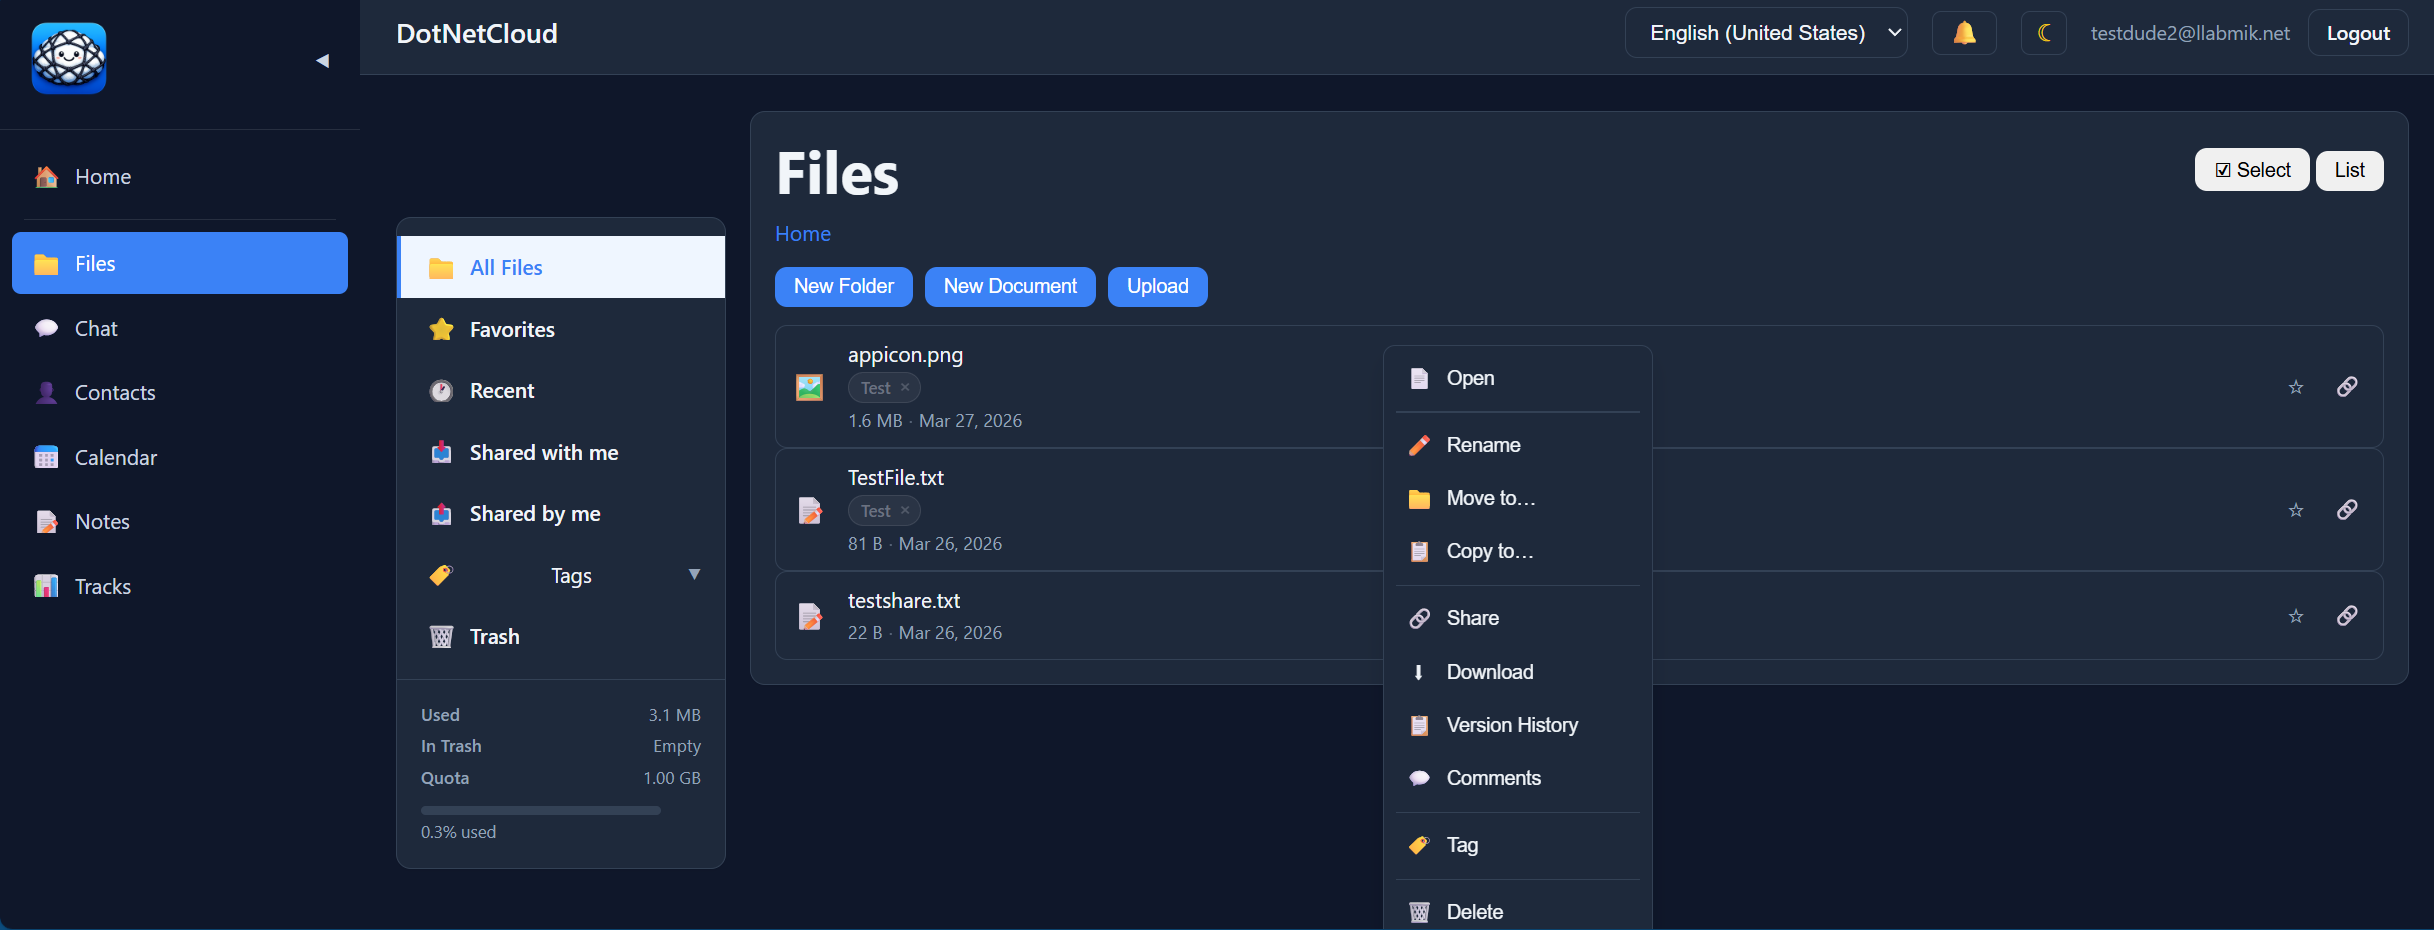
Every DotNetCloud server installation includes the full suite of built-in modules and the web UI.

Built-in Modules

  • Files — Upload, download, sync, share, and version files with chunked transfers
  • Chat — Real-time messaging with channels, DMs, and push notifications
  • Calendar — Events, reminders, and sharing with CalDAV sync
  • Contacts — Address book with CardDAV sync and groups
  • Notes — Markdown notes with folders, tags, and version history
  • Tracks — Kanban-style project management boards
  • Document Editing — Word/Excel/PowerPoint via Collabora Online
  • Photos — Photo library with albums, geo-clustering, and slideshows
  • Music — Music streaming with playlists, equalizer, and Subsonic API
  • Video — Video library with collections, subtitles, and streaming
  • Email — Integrated email client (SMTP/IMAP/Gmail)
  • Bookmarks — Bookmark organization and sync
  • Video Calling — WebRTC video calls and screen sharing via LiveKit
  • Full-Text Search — Unified search across all modules
  • AI Assistant Beta — LLM-powered assistant (Ollama/Claude/OpenAI)

Server Capabilities

  • Web UI — Full-featured Blazor web interface accessible from any browser
  • CLI Administration — Complete command-line management tool
  • User Management — Users, groups, teams, roles, and storage quotas
  • OAuth2 / OIDC — Industry-standard auth with OpenIddict
  • MFA — TOTP (authenticator apps) and FIDO2 (hardware keys)
  • Observability — Serilog logging, OpenTelemetry metrics, health checks
  • Security Headers — CSP, HSTS, X-Frame-Options configured by default
  • Files On-Demand — Browse server files without downloading; fetch on access
  • Auto-Updates Early Access — Server & client auto-update infrastructure
  • Closed System Mode — Restrict registration and access to approved users only
  • Demo Mode — Create restricted trial accounts for evaluation
DotNetCloud web UI file browser with module sidebar, populated files and folders, image thumbnails, and action toolbar

Reverse Proxy Configuration

For production internet-facing deployments, place DotNetCloud behind a reverse proxy that handles SSL/TLS termination. Here are example configurations for popular web servers.

nginx — /etc/nginx/sites-available/dotnetcloud
server {
    listen 443 ssl http2;
    server_name cloud.yourdomain.com;

    ssl_certificate     /etc/letsencrypt/live/cloud.yourdomain.com/fullchain.pem;
    ssl_certificate_key /etc/letsencrypt/live/cloud.yourdomain.com/privkey.pem;

    client_max_body_size 10G;

    location / {
        proxy_pass         http://127.0.0.1:5000;
        proxy_http_version 1.1;
        proxy_set_header   Upgrade $http_upgrade;
        proxy_set_header   Connection "upgrade";
        proxy_set_header   Host $host;
        proxy_set_header   X-Real-IP $remote_addr;
        proxy_set_header   X-Forwarded-For $proxy_add_x_forwarded_for;
        proxy_set_header   X-Forwarded-Proto $scheme;
    }
}
Caddy — Caddyfile
cloud.yourdomain.com {
    reverse_proxy 127.0.0.1:5000
}

Caddy automatically obtains and renews Let's Encrypt certificates — no extra configuration needed.

Apache — /etc/apache2/sites-available/dotnetcloud.conf
<VirtualHost *:443>
    ServerName cloud.yourdomain.com

    SSLEngine on
    SSLCertificateFile    /etc/letsencrypt/live/cloud.yourdomain.com/fullchain.pem
    SSLCertificateKeyFile /etc/letsencrypt/live/cloud.yourdomain.com/privkey.pem

    ProxyPreserveHost On
    ProxyPass / http://127.0.0.1:5000/
    ProxyPassReverse / http://127.0.0.1:5000/

    # WebSocket support for Chat / SignalR
    RewriteEngine On
    RewriteCond %{HTTP:Upgrade} websocket [NC]
    RewriteRule /(.*) ws://127.0.0.1:5000/$1 [P,L]
</VirtualHost>

Further Reading

Server Running? Install a Client

Connect your devices with native sync clients for seamless access to your cloud.

Linux Client Windows Client Android App